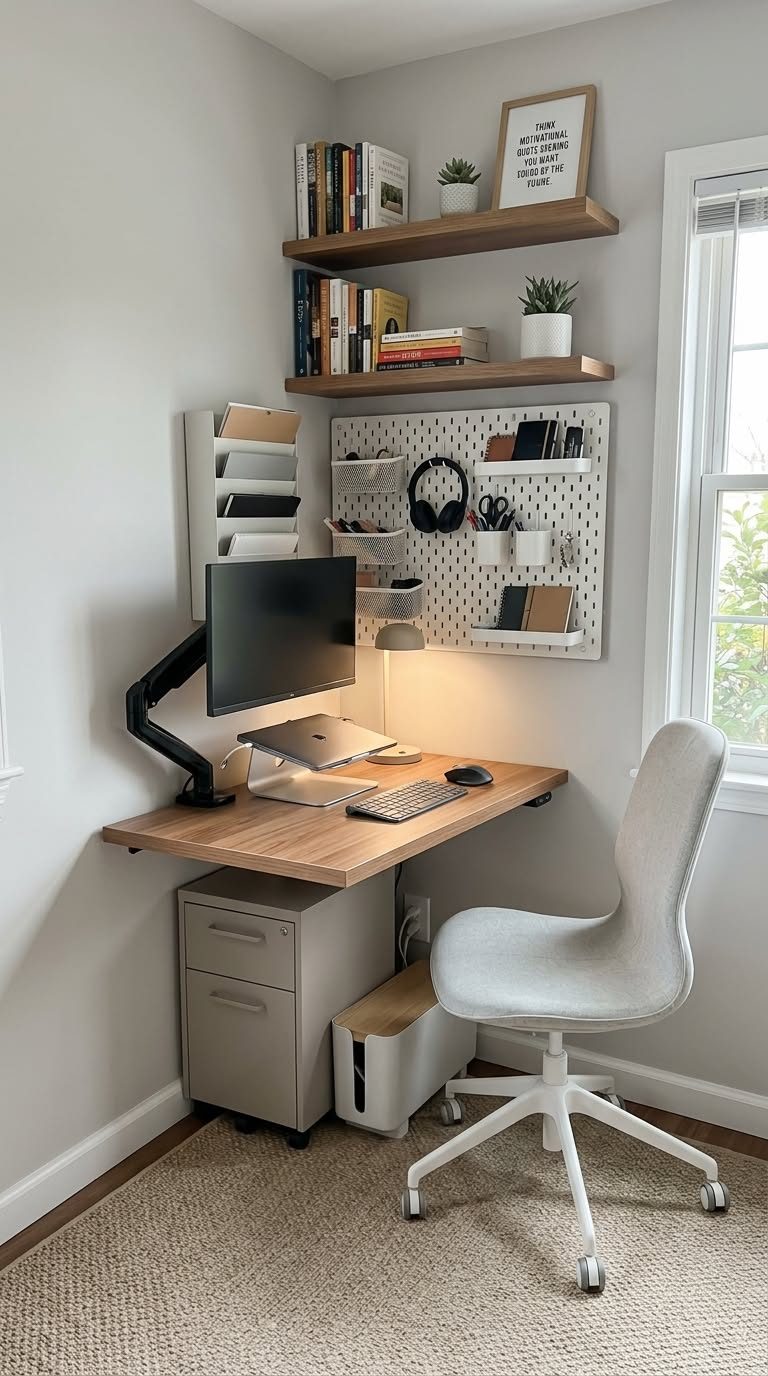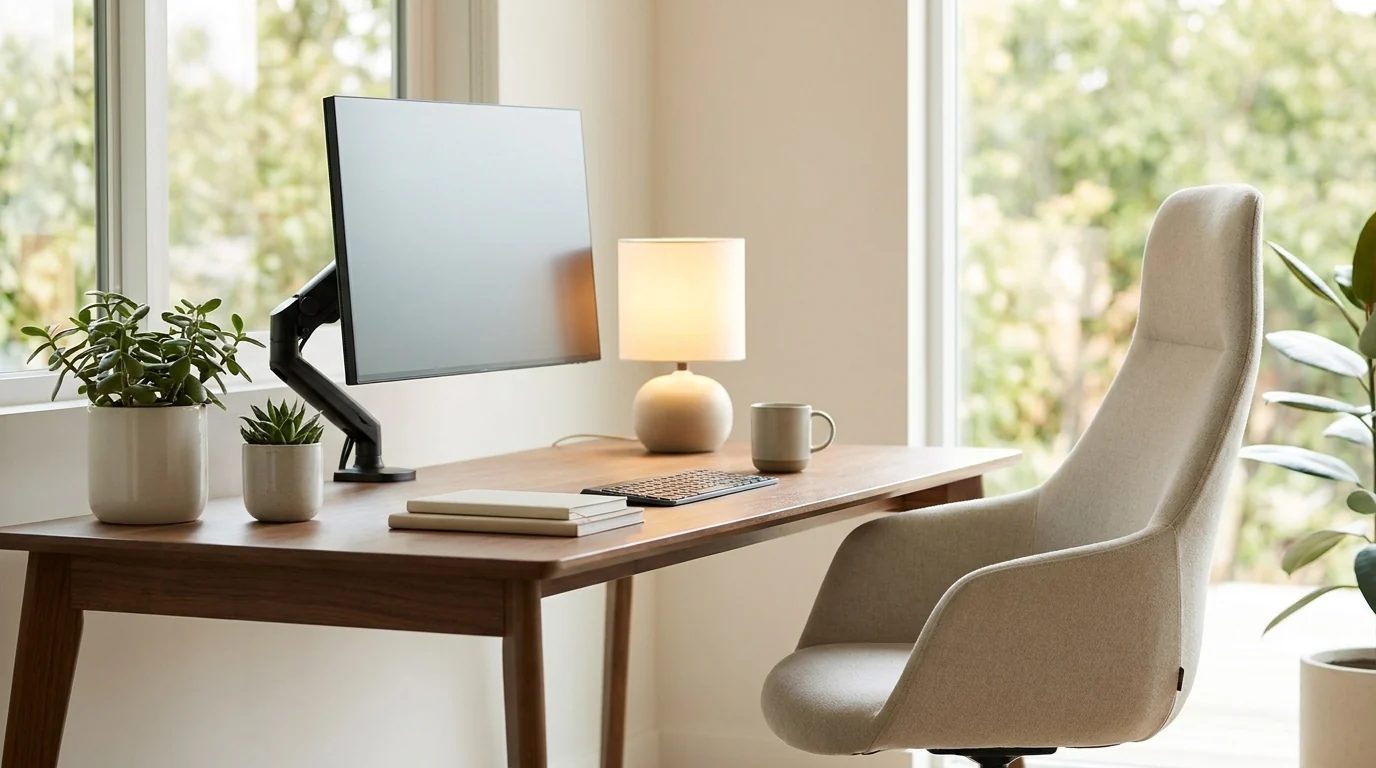
Sarah's home office cost her about ninety dollars: a hand-me-down chair from her brother, a folding table from college, and a laptop. It also cost her six months of lower back pain, two chiropractor visits, and a standing habit of working from the couch, which somehow made everything worse.
When she finally decided to fix it, the internet told her she needed a twelve-hundred-dollar chair and a motorized standing desk. Her budget was four hundred dollars, total, and she assumed that meant living with the pain. It did not. Four hundred dollars, spent in the right order, buys a genuinely ergonomic setup. Spent in the wrong order, it buys an expensive version of the same problems.
This guide is the right order.
The $400 Budget: Where Every Dollar Goes
Here is a realistic breakdown that actually adds up:
- Chair: $150 to $180. This is your biggest single expense and your highest-impact purchase. You sit in it for eight hours. Nothing else you buy matters as much.
- Monitor setup: $40 to $80. A monitor riser or laptop stand plus a basic external keyboard. Getting the screen to eye level fixes more neck pain than any chair.
- Desk: $0 to $100. If you own a sturdy table, spend zero here. If you need a desk, a simple writing desk in the $80 to $100 range beats a wobbly "gaming desk" at any price.
- Accessories: $40 to $60. A footrest, a lumbar pillow if your chair needs one, and cable management.
- Reserve: $20 to $40. Keep a buffer for the thing you forgot, which is usually shipping or a part you did not know you needed.
Total: right around $400, with the money concentrated where your body notices it.
The Priority Order: Chair, Screen, Then Everything Else
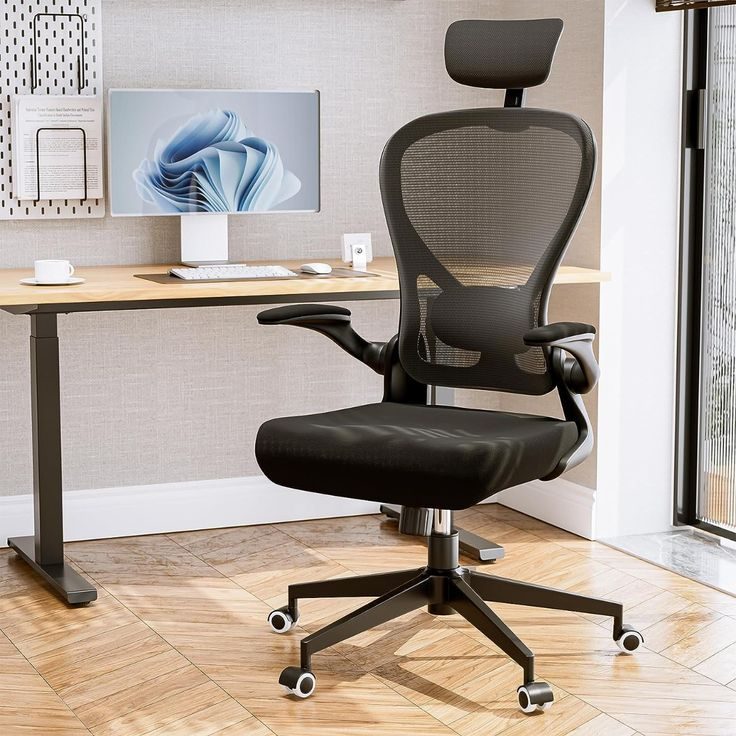
First, the chair. Look for adjustable seat height, adjustable lumbar support, and a backrest that actually touches your lower back when you sit all the way back. Flip-up armrests are a bonus in small spaces. You do not need leather, a headrest, or a brand name. You need those three adjustments.
Second, screen height. The top of your screen should be at or slightly below eye level, about an arm's length away. For a laptop, this means a laptop stand plus an external keyboard, which is non-negotiable. Typing on a laptop keyboard while the screen is at eye level is impossible, and hunching over a low screen to use the built-in keyboard defeats the purpose.
Third, feet and posture details. Feet flat on the floor or on a footrest, knees at roughly 90 degrees, wrists straight while typing. A footrest costs twenty dollars and fixes the dangling-feet problem that causes half of all desk-related leg fatigue.
Free Fixes That Cost Nothing
Before spending anything, do these. Stack books or a sturdy box under your monitor to test eye-level height before buying a riser. Roll a towel into a lumbar roll to test whether lower-back support helps before buying a pillow. Move your desk perpendicular to the window to cut screen glare. These free experiments tell you exactly what to buy, so you spend the $400 once instead of twice.
The 20-20-20 rule is also free: every 20 minutes, look at something 20 feet away for 20 seconds. No product fixes the strain of staring at one distance for four hours straight.
What to Upgrade First When You Have More Money Later
When the budget grows, upgrade in this order: a better chair cushion or a higher-quality chair, then a monitor arm for precise positioning, then lighting. Do not buy a standing desk until the sitting setup is right. An expensive standing desk with a bad chair just gives you two uncomfortable positions instead of one.
Common Mistakes on a Budget
The most expensive mistake is buying the chair last. People spend $200 on a desk, $80 on a lamp, and $50 on decor, then wonder why their back still hurts in a $60 chair. Flip it: chair first, everything else after.
The second mistake is the "ergonomic" label trap. At budget prices, "ergonomic" on the box means nothing. Check for the actual adjustments: seat height, lumbar support, and armrest position. If a chair lacks those three, the label is marketing.
The third mistake is buying everything at once. Set up the chair and screen height first, live with it for two weeks, then decide what still bothers you. Your body will tell you what to buy next better than any guide.
Frequently Asked Questions
Can I really set up an ergonomic office for $400? Yes, if you prioritize correctly. A $160 chair, a $30 laptop stand, a $25 keyboard, and a $20 footrest solve the problems that cause most pain. The remaining budget covers a desk or accessories.
What is the most important ergonomic purchase? The chair, followed closely by getting your screen to eye level. These two fixes address the majority of back, neck, and shoulder complaints.
Is a standing desk necessary for ergonomics? No. A good sitting setup beats a bad standing setup every time. Standing desks help people who already move regularly; they do not fix a bad chair.
How do I know if my setup is actually ergonomic? Check the basics: feet flat, knees near 90 degrees, screen top at eye level, wrists straight, and no craning forward. If you can work for two hours without shifting constantly to get comfortable, you are close.
Sarah spent $385 in the end: a $165 chair, a $35 laptop stand, a $30 keyboard, a $22 footrest, a $90 writing desk, and the rest on a cable tray and a lumbar pillow she ended up not needing. Her back pain faded within a month. The setup is not beautiful. Nobody photographs it for social media. But she works eight hours without thinking about her body, which is the entire point of ergonomics, and it cost less than one chiropractor treatment plan.
Our Top Picks
ErgoRest Task Chair
A budget-friendly task chair with adjustable lumbar support, seat height, and flip-up armrests that punch above its price.
- Adjustable lumbar support included
- Flip-up armrests fit under desks
- Breathable mesh back
- Seat cushion is thin for all-day use
ViewRight Monitor Riser Stand
A sturdy monitor stand that raises your screen to eye level and adds a storage shelf underneath for a keyboard or notebooks.
- Raises screen 4 to 6 inches
- Holds up to 44 pounds
- Bonus storage shelf underneath
- Fixed height, no adjustment
LapLift Adjustable Laptop Stand
An adjustable aluminum stand that lifts a laptop to eye level, the cheapest fix for the most common work-from-home posture problem.
- Fits 10 to 17 inch laptops
- Folds flat for travel
- Sturdy aluminum build
- You will need a separate keyboard to use it properly
FootEase Under-Desk Footrest
An angled footrest that keeps feet supported and improves circulation during long sitting sessions.
- Reduces leg fatigue
- Textured non-slip surface
- Lightweight and easy to move
- Too low for very tall users